


This article delves into the seamless deployment process for a Subspace Node using Spheron, a user-friendly platform simplifying node configuration and participation in the Subspace ecosystem.
What is Spheron Network?
Spheron Network is a Web3 infrastructure platform that provides tools and services to decentralize cloud storage and computing. It allows audited data centers to join the Spheron marketplace. Spheron oversees the decentralized and governed nature of the infrastructure, ensuring permissionless access and heightened security for all users. Spheron Compute offers a feature-rich alternative to traditional cloud services at only one-third of the cost.
Spheron offers a Compute Marketplace, which allows users to set up valuable tools quickly and easily, whether they want to deploy databases, nodes, tools, or AI. With Spheron, you don't have to worry about the technical stuff, and you can focus on deploying your Node with ease. Spheron Network has also partnered with organizations like Shardeum, Avail, Elixir, Filecoin, Arbitrum, etc, to redefine access to it and promote a more decentralized, inclusive, and community-centric ecosystem.
Spheron provides features such as Private images, Auto-scale instances, Scale on demand, Real-time instance metrics, Faster GPUs, Free Bandwidths, Terraform Providers and SDKs, Instance health checks, activity, shell access, and more. Spheron provides add-on storage solutions for long-term data storage and edge bandwidth acceleration through its global CDN. With Spheron,you can easily set up your nodes in just a few minutes and enjoy low maintenance and operations costs and a great developer experience.
What is a Subspace Network?
The Subspace Network lets developers run Web3 apps at the Internet scale. It provides a simple interface for deploying multi-chain decentralized apps that auto-scale with demand. Subspace is powered by a new eco-friendly, 4th generation blockchain that enables massively scalable on-chain storage and compute without compromising security or decentralization.
It seamlessly integrates with existing blockchains, layer two protocols, and decentralized applications, allowing it to serve as a foundational infrastructure layer for the entire Web3 ecosystem. Subspace will empower builders to unlock the next wave of crypto adoption by supporting NFTs, GameFi, and the Metaverse at the Internet scale.
How do you deploy Subspace using Spheron Compute?
Deploying a Subspace node on Spheron is a simple, streamlined process that does not require any DevOps knowledge!
Step 1: Create a Free Spheron Network Account
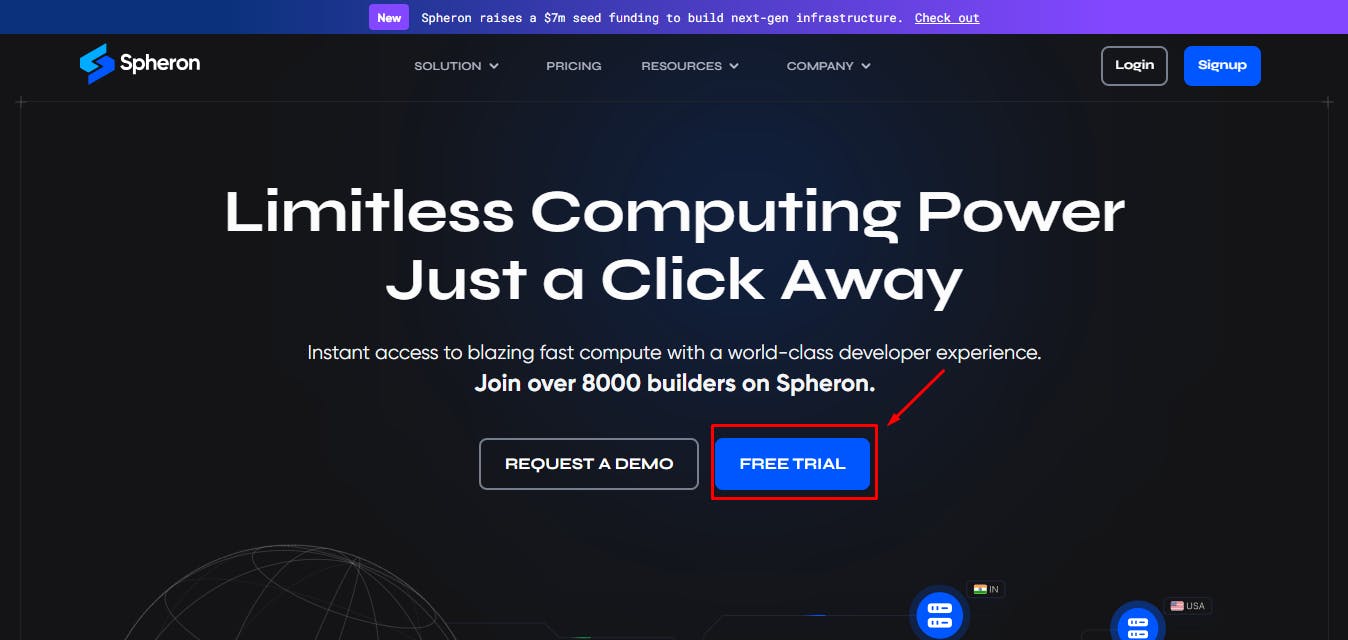
Visit Spheron Network: spheron.network
On the Spheron homepage, locate and click the "Free Trial" button.
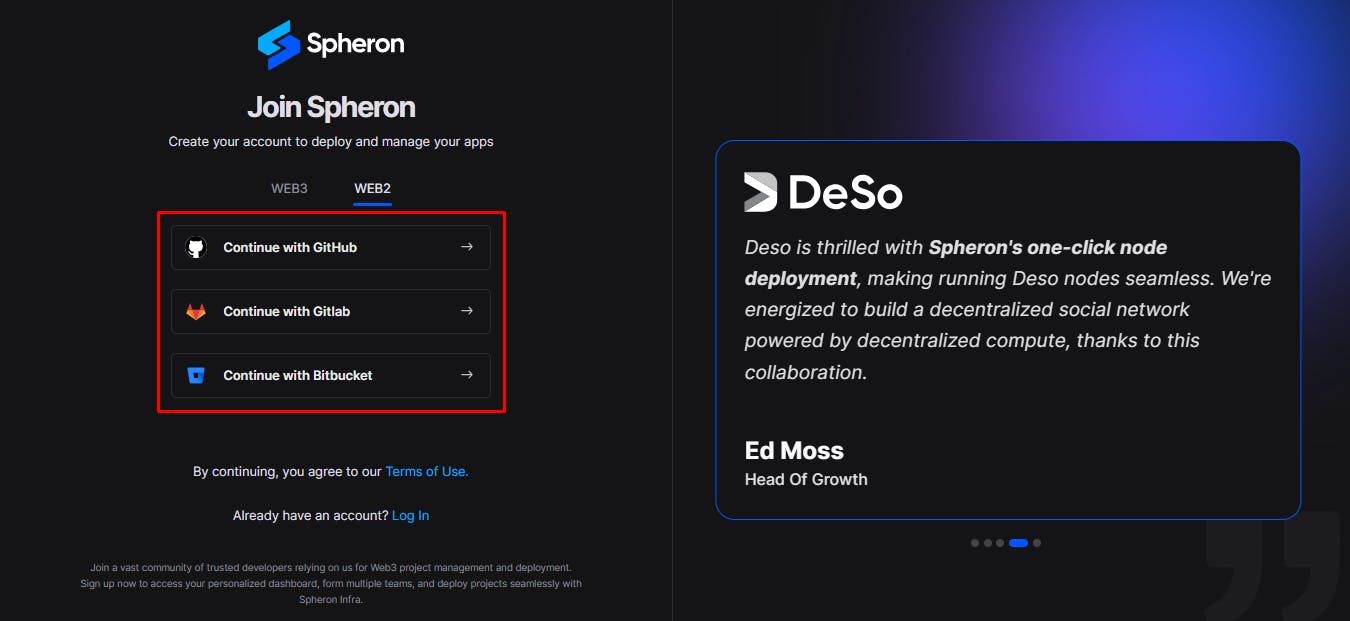
You'll be directed to a signup page. Choose your preferred authentication method: Web2 (GitHub account, GitLab account, or Bitbucket account) or Web3 (Ethereum).
Follow the provided prompts to authenticate your chosen account securely. This step ensures safe access to the Spheron Network platform. After successful authentication, you'll be guided to a confirmation page confirming the completion of your account setup.
Step 2: Creating an Organization
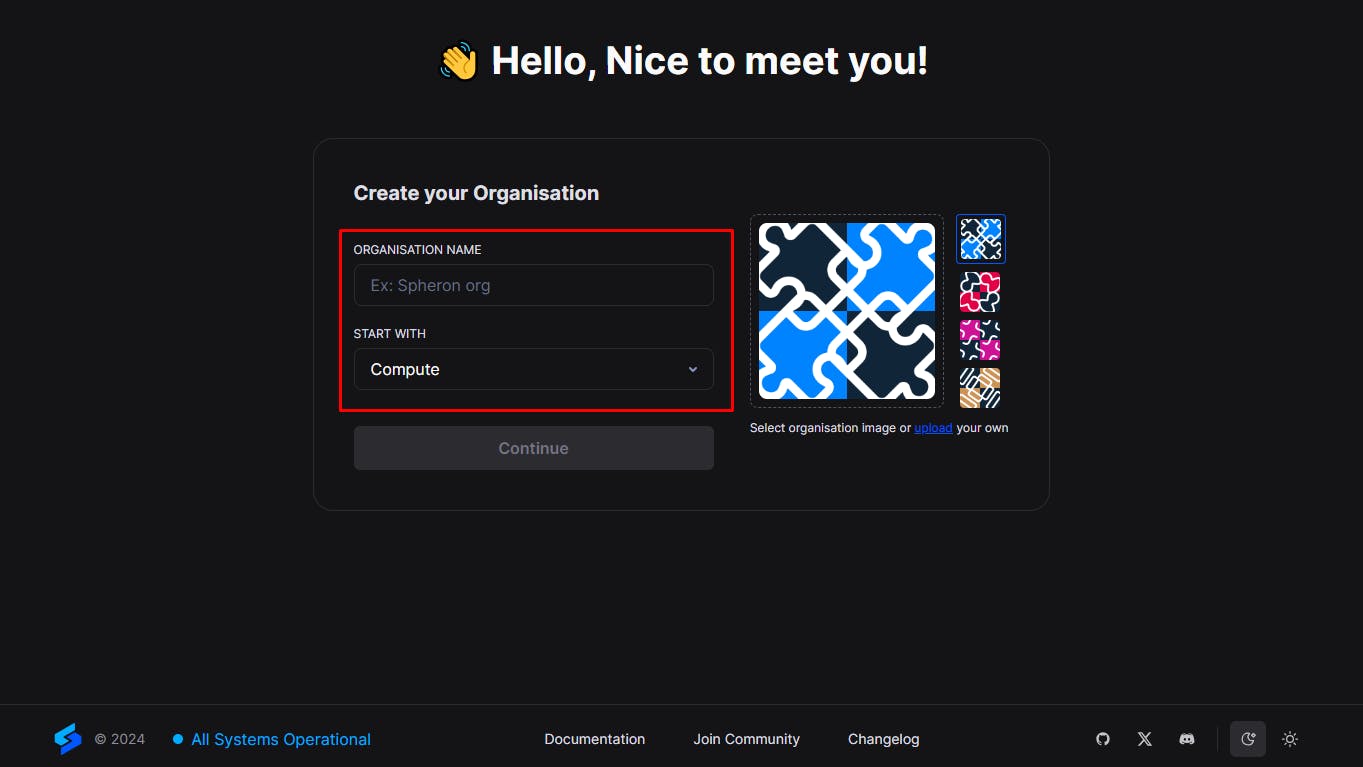
1. Upon logging in, you'll be directed to the Create Organization page, where you can give your organization name and choose Avatar. Ensure the "compute" option is selected from the drop-down menu of the "Start With" option. Click “Continue”.
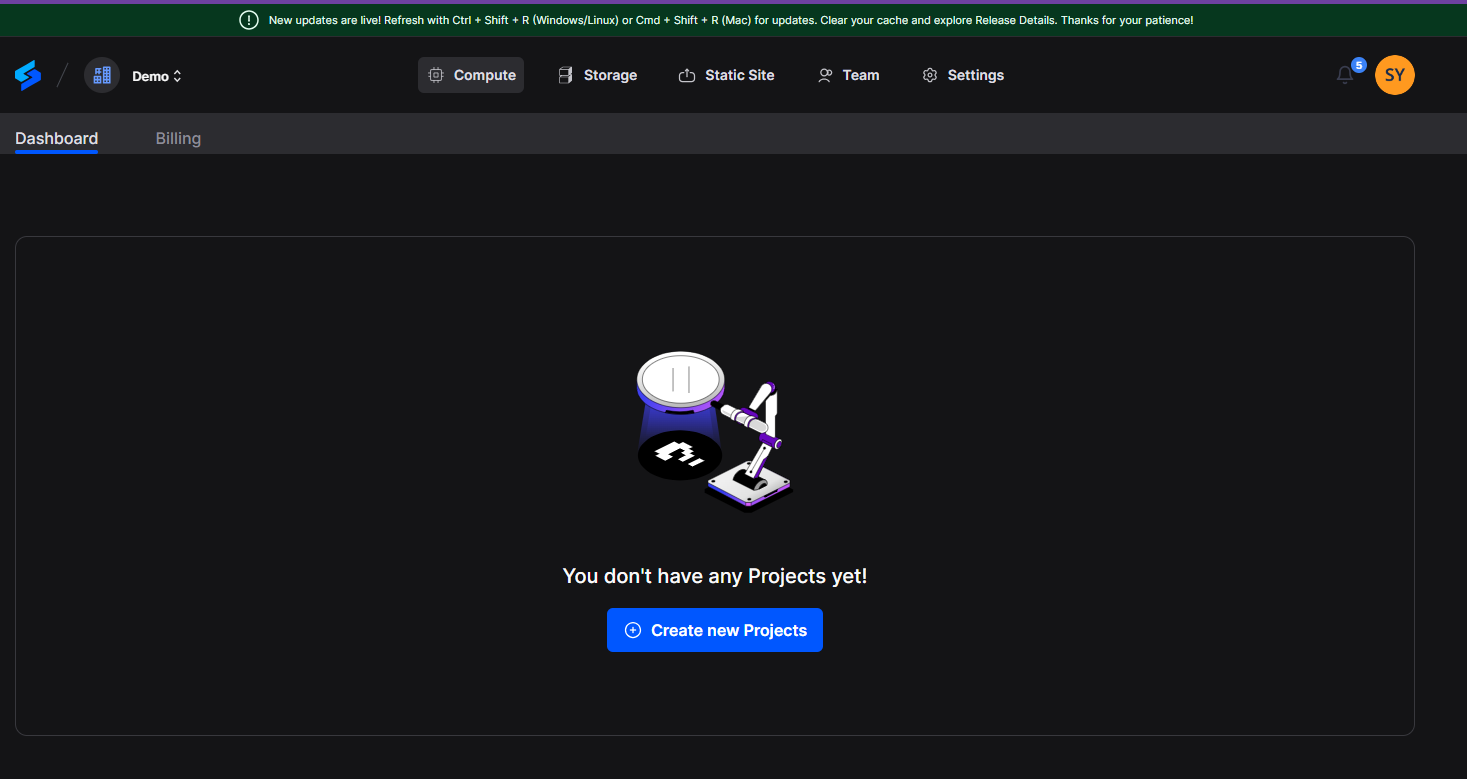
2. Next, you'll be taken to a new page. Click the "Create New Projects" button.
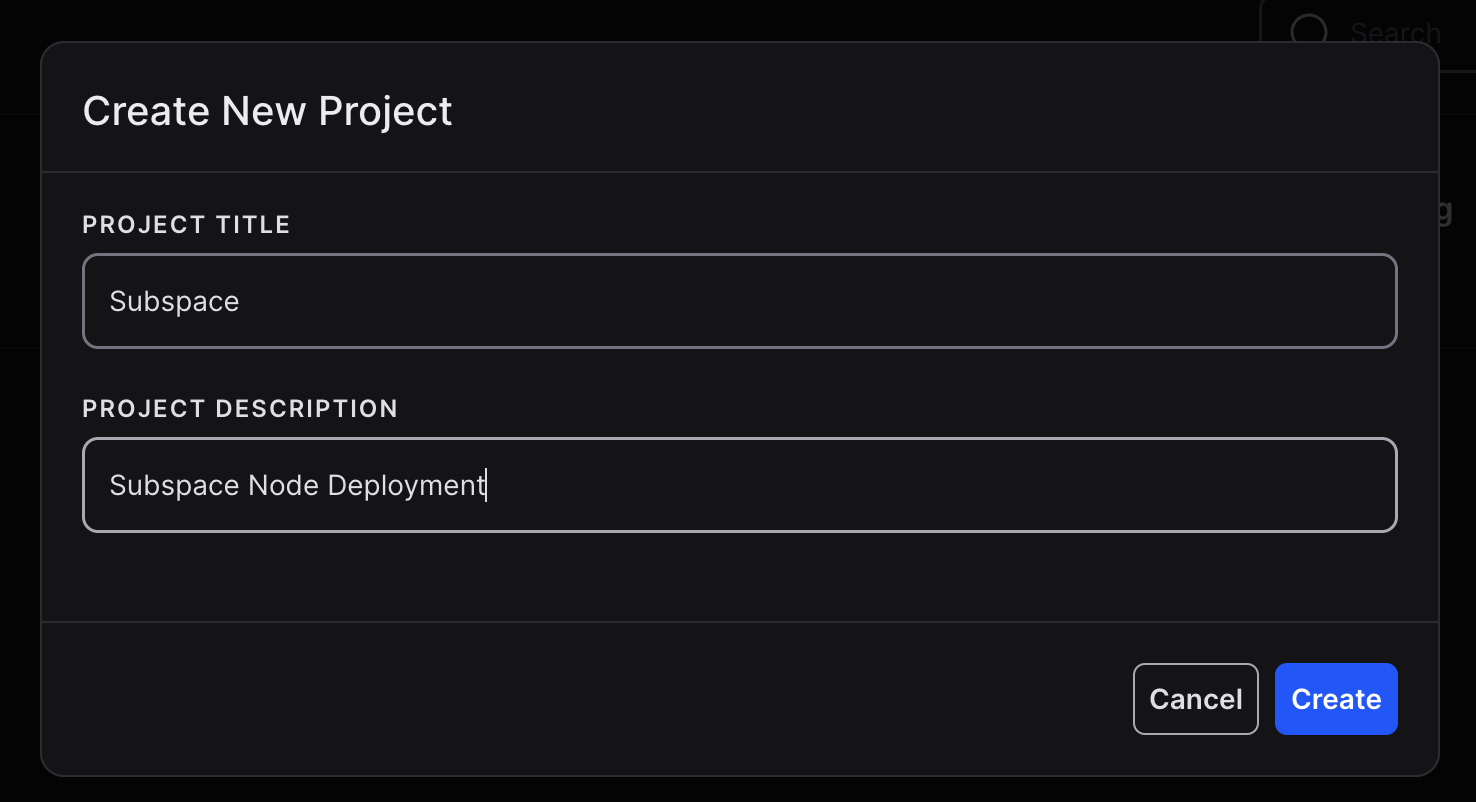
3. Add 'Project Title' And 'Project Description' and Click Create.
Step 3: Deploying a Subspace Node With Spheron Platform UI
Follow these steps to deploy a Subspace Node:
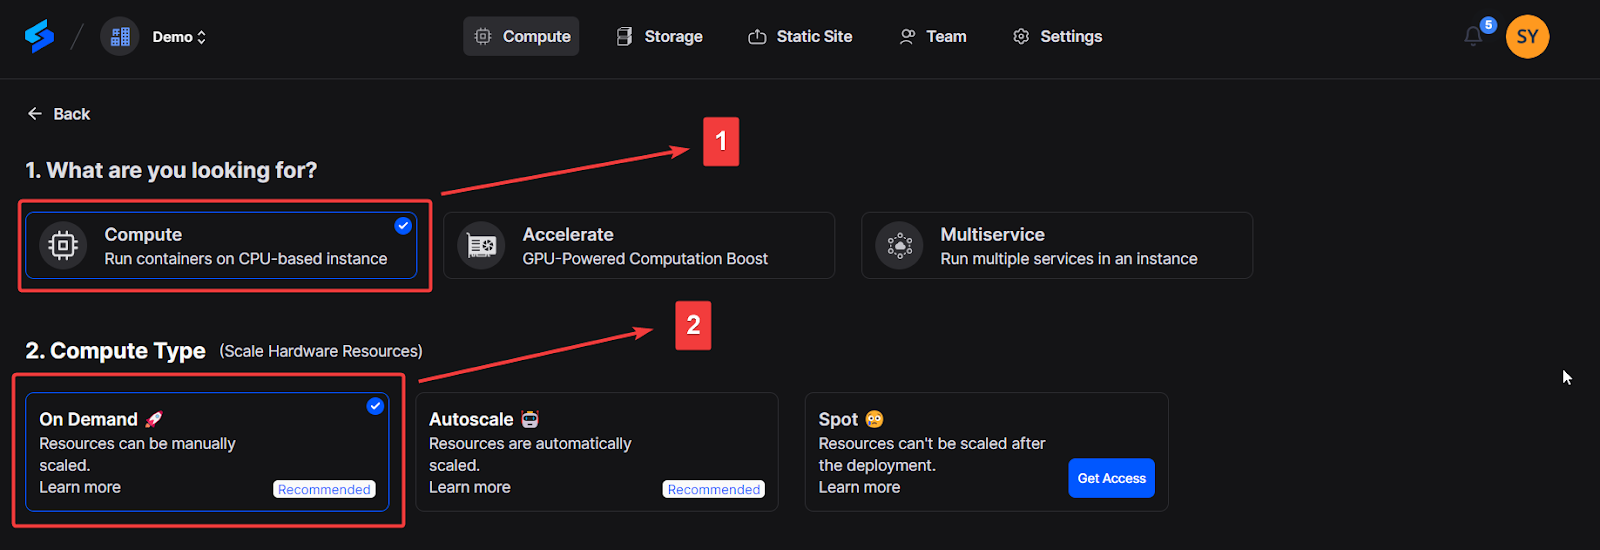
1. Choose "Compute" to use CPU-based instances for running containers.
2. Choose your desired Compute Type option under Compute Type.
NOTE: Please schedule a team call to gain early access to the "Spot" Type.
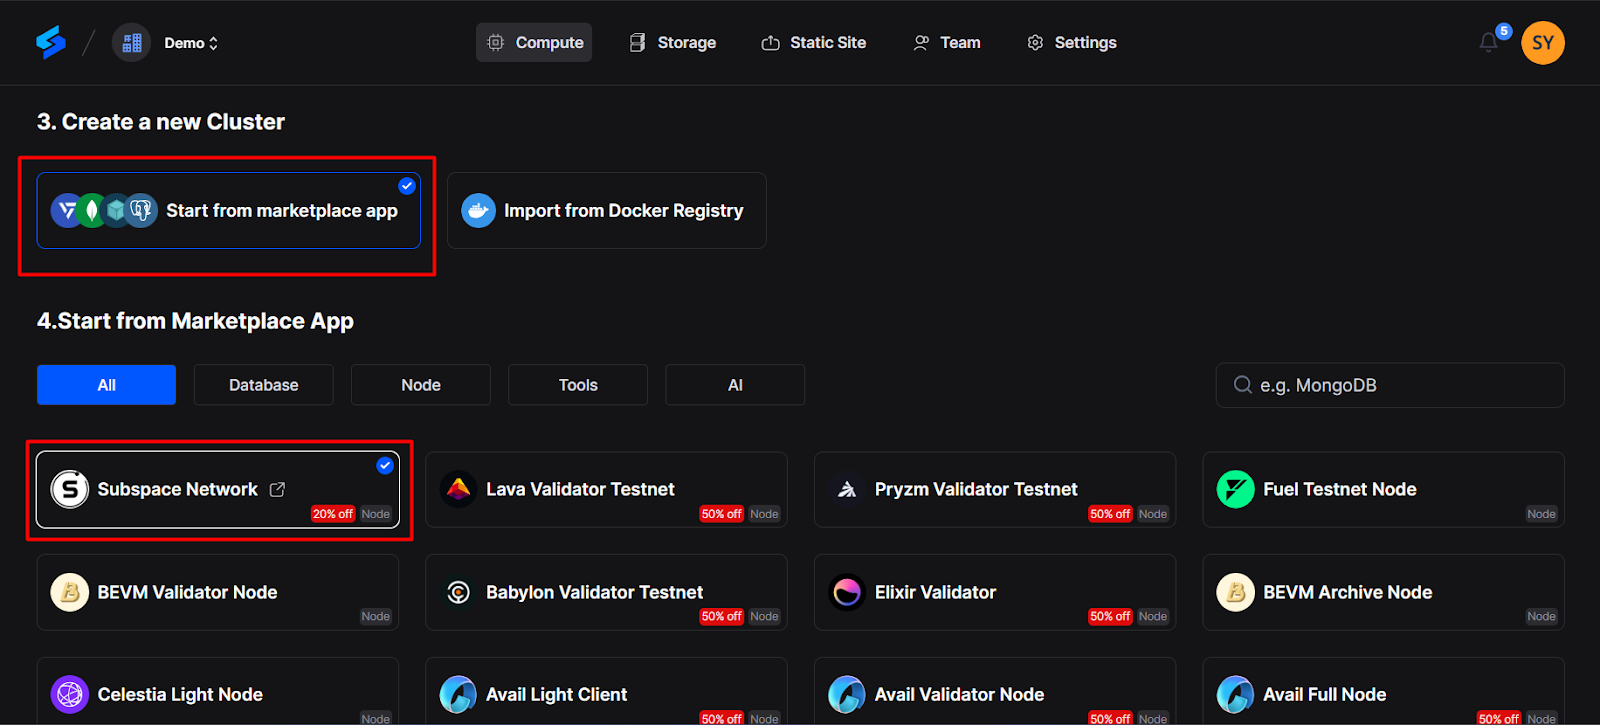
3. Click "Start from Marketplace App" and Select "Subspace Network" from the marketplace.
4. Select Region: Select your preferred region for deployment. Choosing a region closer to your users can improve performance and reduce latency.
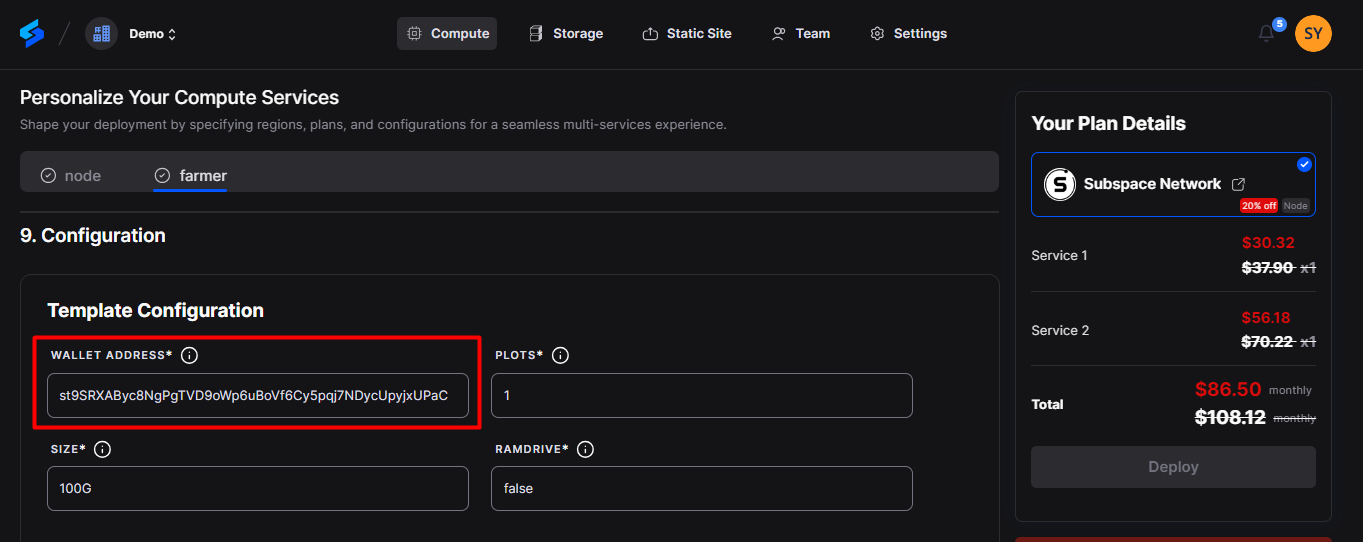
5. Next, in the ‘Personalize Your Compute Service’ section, Click on the ‘farmer’ tab and Choose an instance plan that aligns with your requirements. Spheron will recommend a suitable plan according to the Subspace template, but you can customize it from available plans or choose to 'Create Custom Plans.'
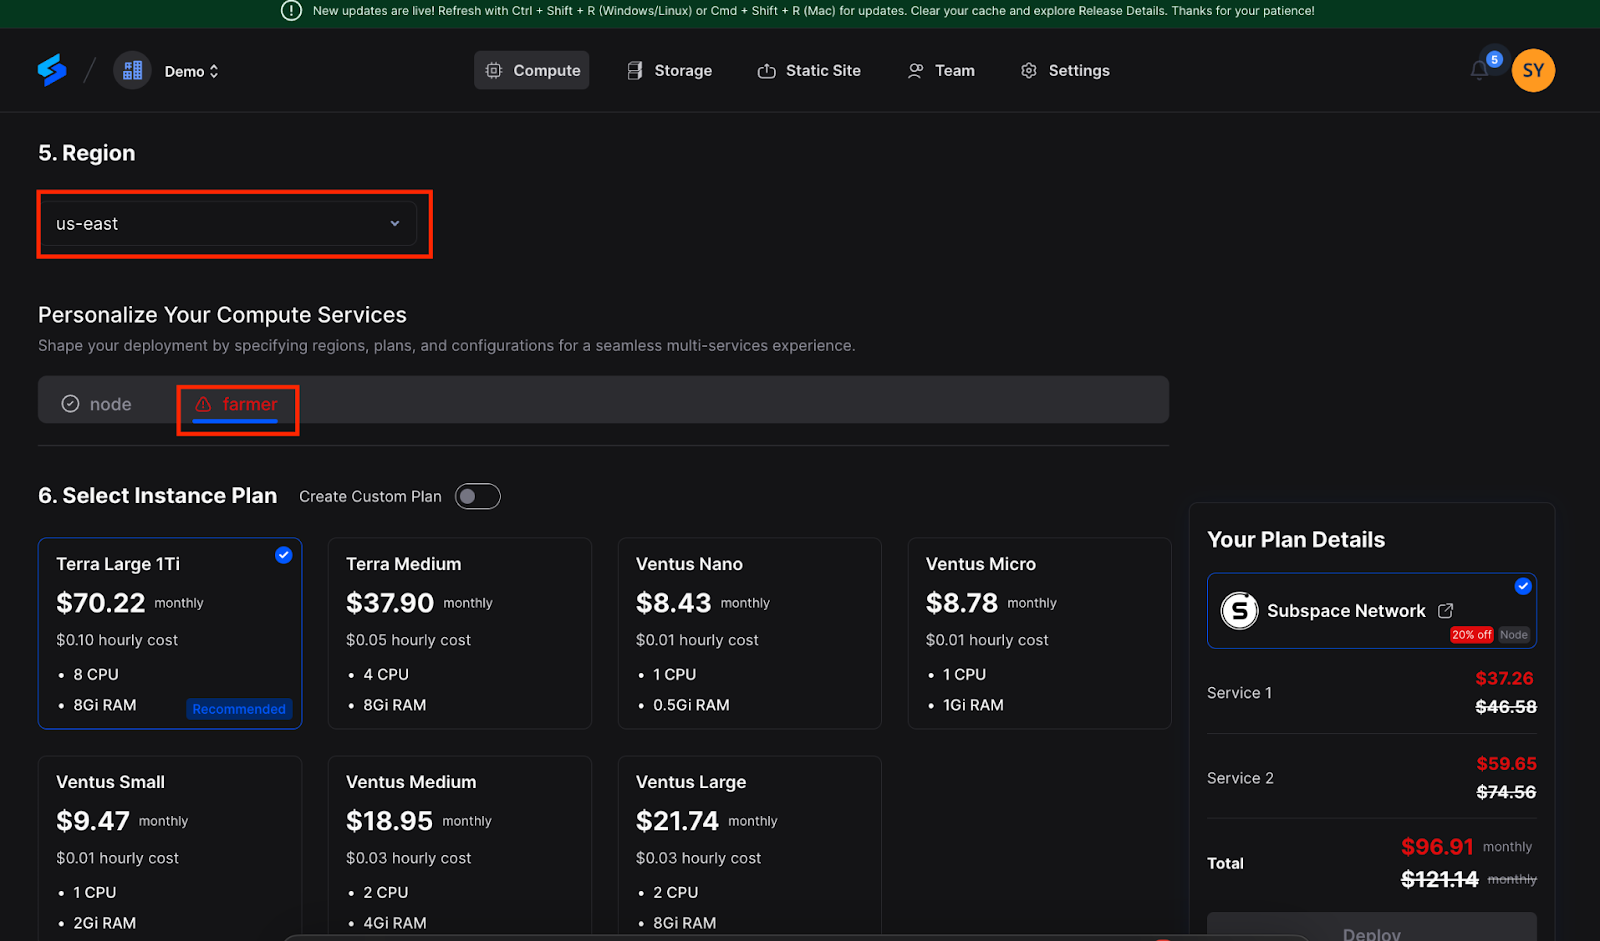
6. Next, Configure storage:
You have to choose storage from the available options or the custom storage option that fits your needs. This storage will be volatile and is erased when the instance is restarted, redeployed, or shut down. Additionally, you get the option to choose Persistent Storage.
7. Next, go to the configuration. In the ‘Template Configuration’ section, you will need to add a wallet address.
Step 4: Creating & getting the Sub Wallet address
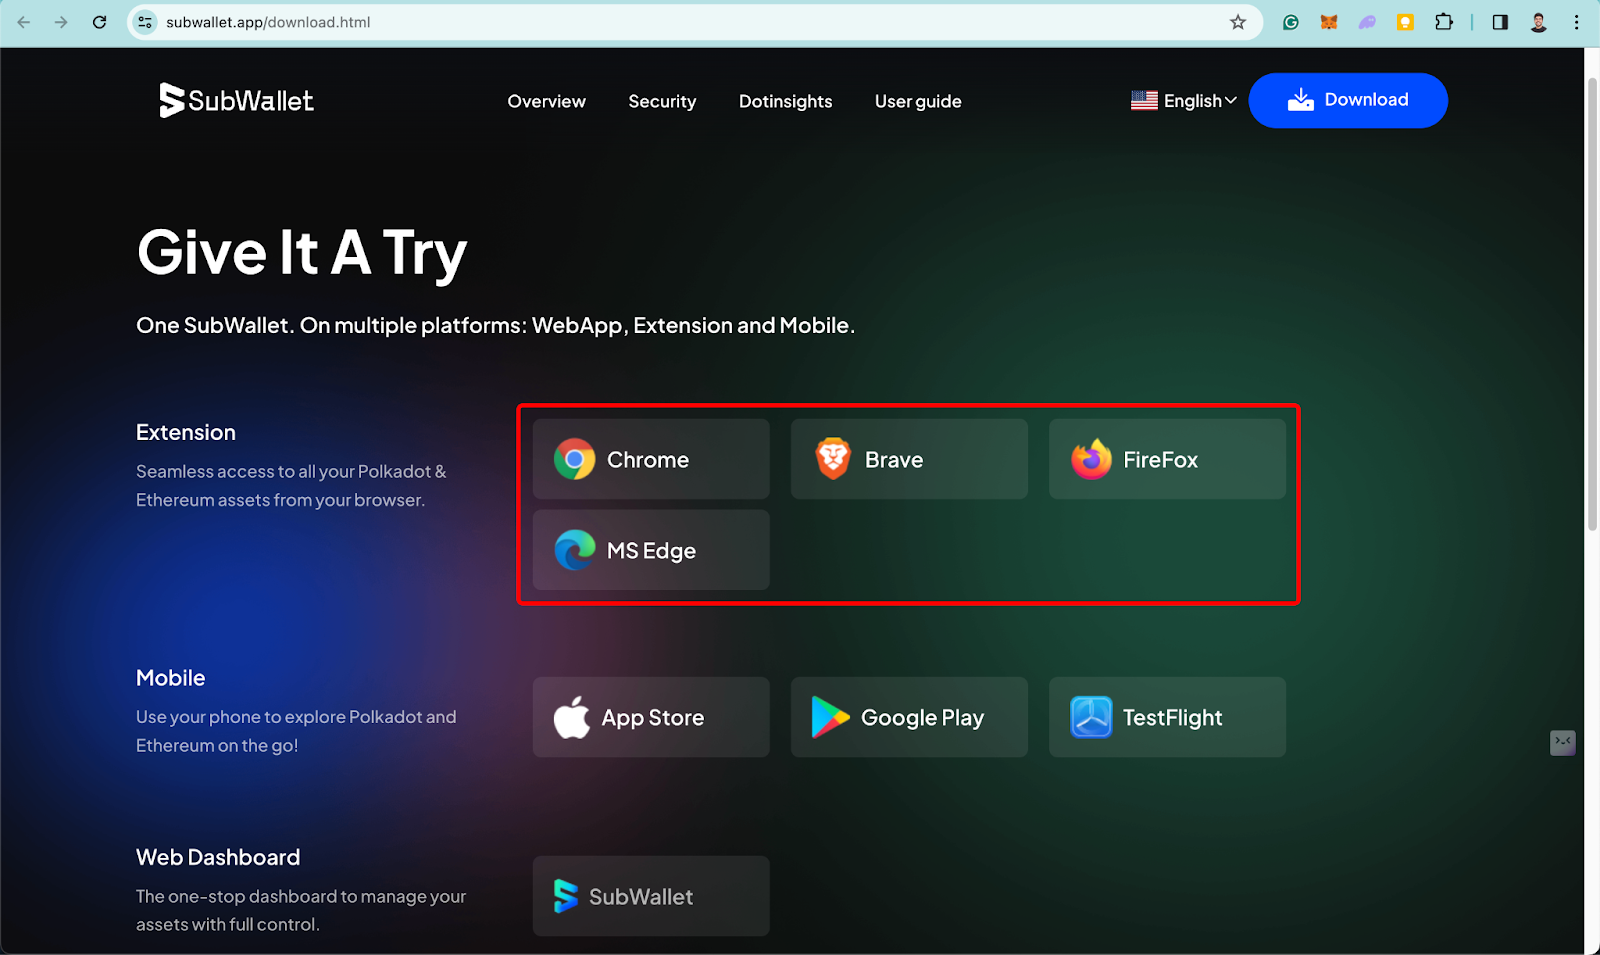
- Install Sub Wallet Chrome Extension:
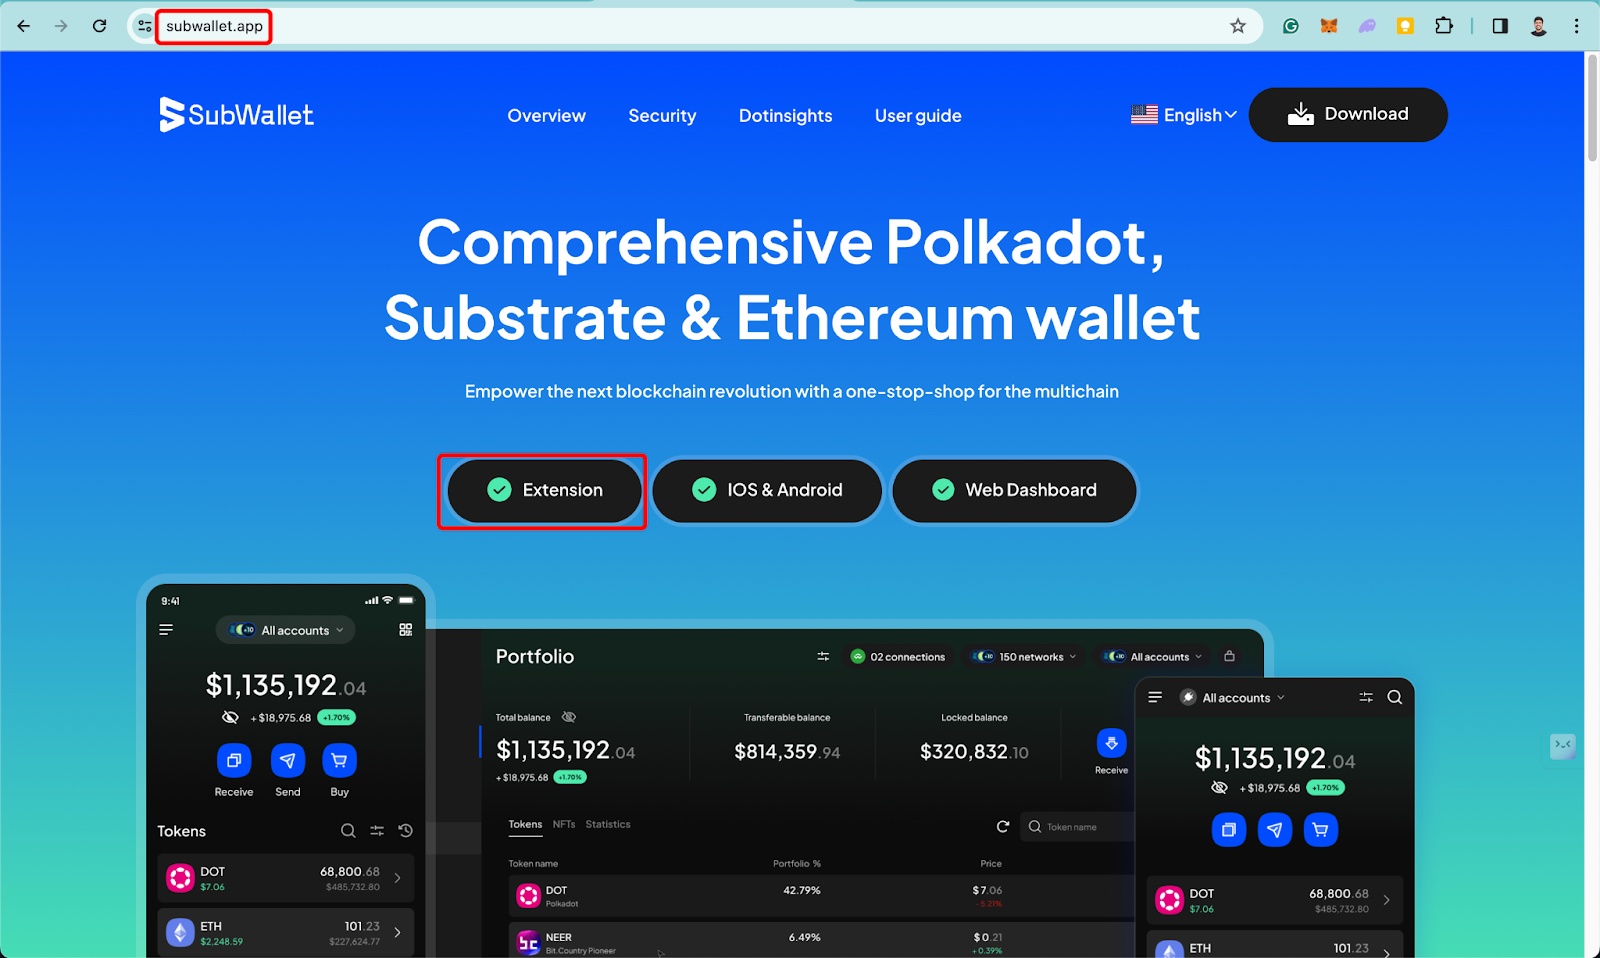
Go to the Chrome Web Store and search "Sub Wallet—Polkadot Wallet." You can also download it from Here. Or You can download by going on subwallet.app
Click the "Add to Chrome" button and follow the prompts to install the extension.
- Create a Sub Wallet Account:
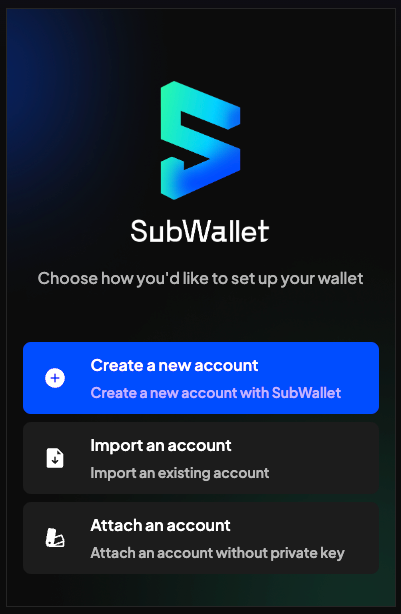
Click on the Sub Wallet extension icon in your Chrome browser.
On the SubWallet page, click on "Create a new account".
Agree to the terms and conditions by clicking the checkbox and then clicking "Continue".
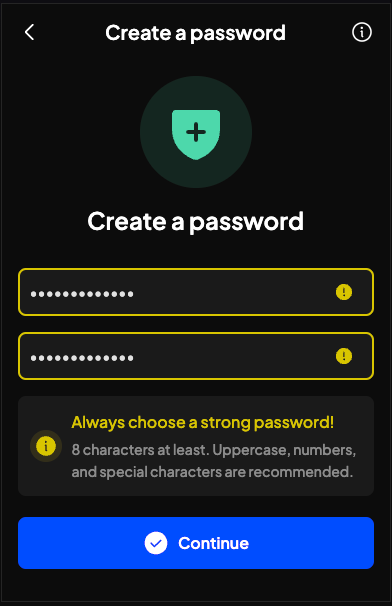
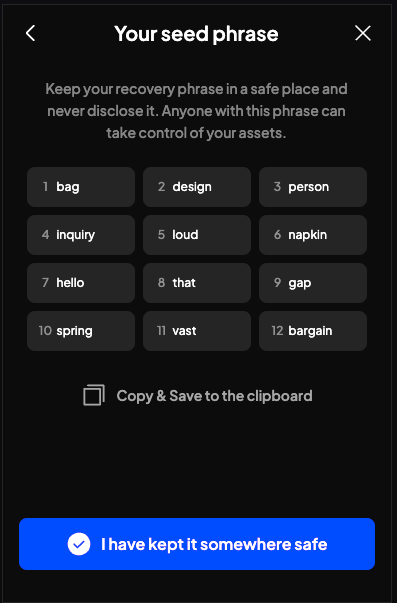
Create a secure password for your account and remember to save it securely, as SubWallet cannot recover lost passwords. Copy or download the seed phrase provided.
- Confirm that you have securely stored the seed phrase by clicking "I have kept it somewhere safe."
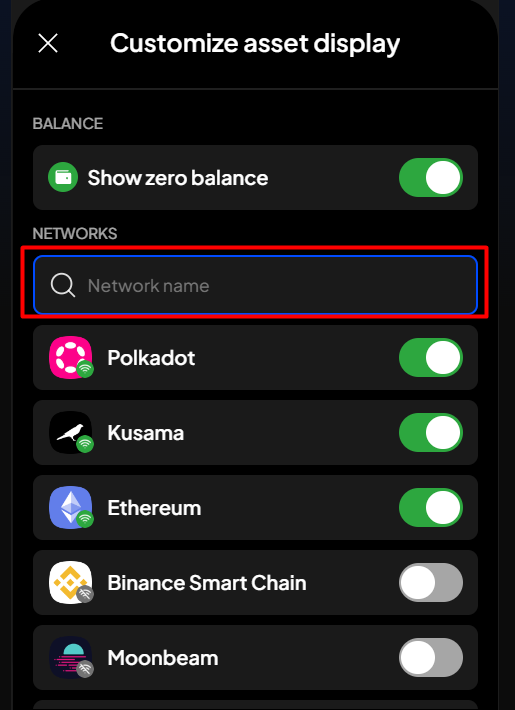
- Configure Subspace Gemini 3h Network:
Click on the settings icon located in the upper right corner.
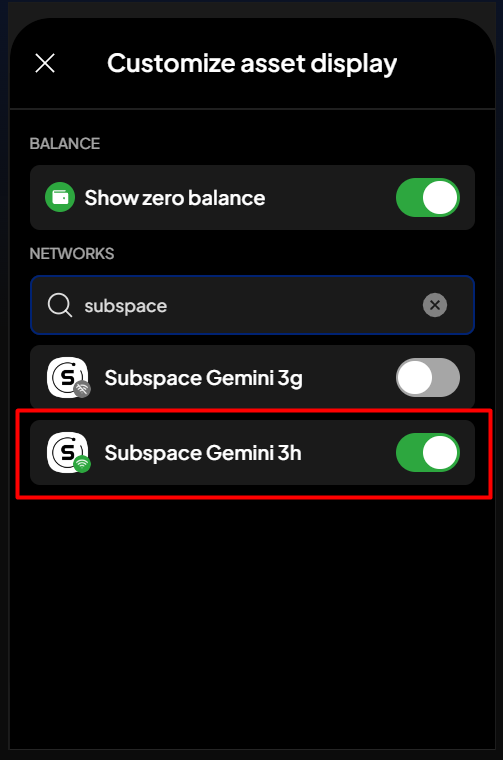
Navigate to the "Network" section and enable "Subspace Gemini 3h".
- Copy Wallet Address:
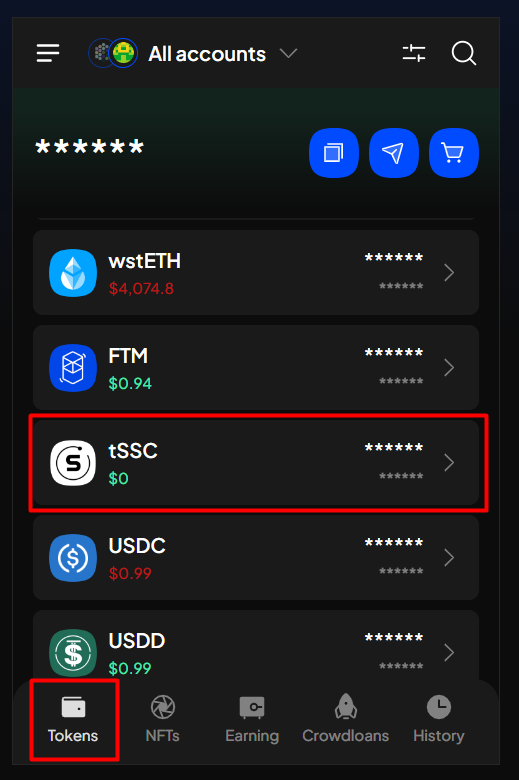
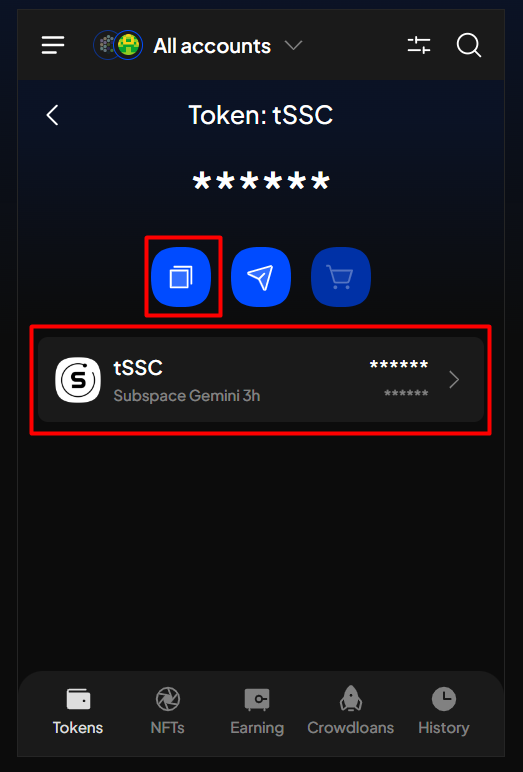
Return to the main menu of the SubWallet and click on the tokens option.
Search and Click on "tSSC" and Copy the wallet address provided.
Step 5: Final Steps
1. Go back to the Spheron ‘Template Configuration’ section. Paste the copied wallet address into the designated field.
2. After pasting the wallet address, click the "Deploy" button to deploy the node successfully.
3. Wait for your node to be fully set up. After it's provisioned, you'll see an option called ‘Overview’ in the dashboard; click on it to see all the details of the deployed node on Subspace.
Conclusion
In conclusion, deploying a Subspace Node using Spheron Network is straightforward and can be completed in just a few steps. With Spheron, users can easily set up a Subspace Node without extensive technical knowledge, making it accessible to a wider range of participants. By following the steps outlined in this guide, users can quickly and easily deploy their own Subspace Node and start contributing to the network.